Creating a new course on PeerWise
Welcome
This document describes the process for creating a new course on PeerWise and managing student access to the course.
Log in
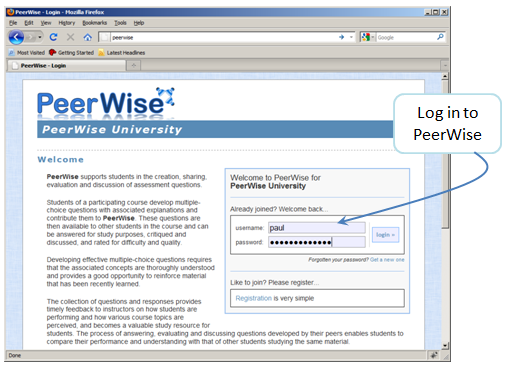
To create courses on PeerWise, you will have been provided with a login name and password for your institution (request an instructor account). Start by logging in:
Choose the name for your course
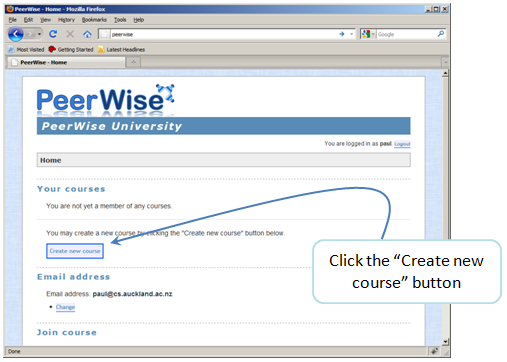
Once you log in, you will see a button labeled "Create new course". Click on this button to begin creating a new course repository.
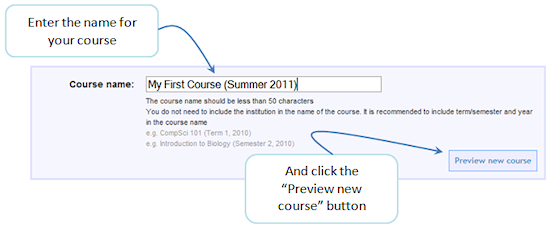
You are then asked to enter the name you would like the new course repository to have. You can enter any name you like, and then press the "Preview new course" button:
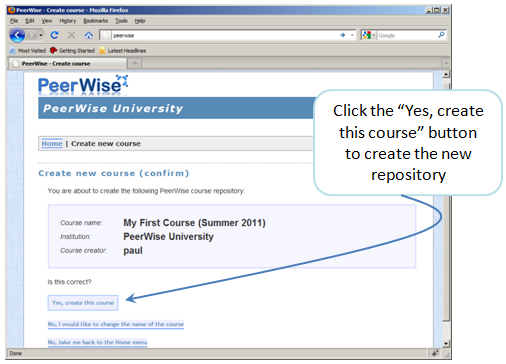
You will now be shown a summary of the course that is about to be created, that includes your name, the name of the new course, and the institution. If you are happy with this, select the "Yes, create this course" button:
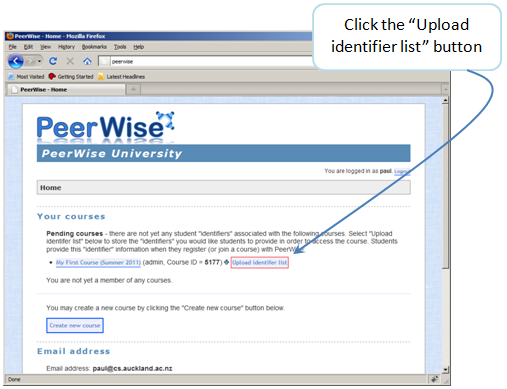
You will be returned to the "Home menu", where you will now see this new course listed in a section called "Pending courses". A "pending course" is a course which does not yet have any "student identifiers" associated with it. When a student wishes to access your course on PeerWise, they will first need to provide one of the "student identifier" values that you have associated with the course. This will allow you to track the participation of your students. Students only need to enter this identifier value one time - when they register a new PeerWise account (if they have never used PeerWise before), or when they select "Join course" from the Home menu (if they have used PeerWise before). You can now define the valid "student identifiers" that you would like to use with this course. These identifiers can be absolutely any values at all, provided that they allow you to uniquely identify each student. Select the "Upload identifier list" button (which has a red border).
Upload student identifiers
You will now be shown the "Manage student identifiers" page:
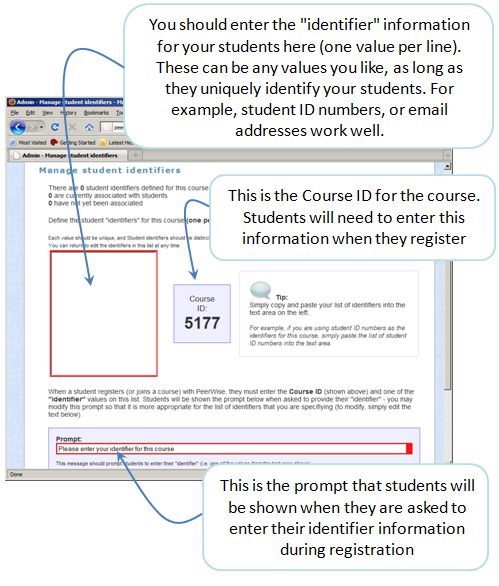
You do not have to fill in this information right away. You can return to this page and add the student identifier information or edit the list of identifiers whenever you like. However, the course will continue to appear as a "Pending course" until you associate at least one student identifier with it. In this example, we will upload a list of email addresses for the students in our class. As shown in the screenshot below, we will also change the prompt that is shown to students to something more appropriate, such as:
Please enter your University email address
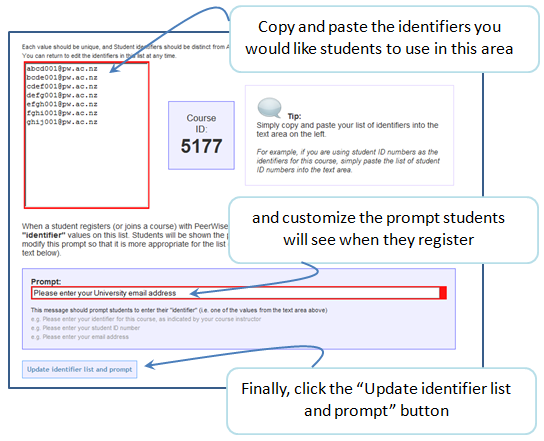
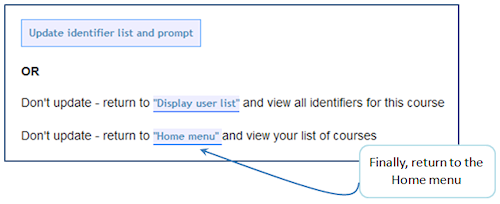
Once this is done, click the "Update identifier list and prompt" button. You will then be shown confirmation that these identifiers have been added:
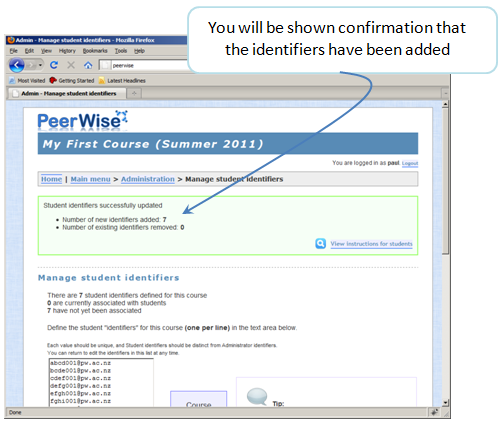
There is a link at the bottom of the page called "Home menu". If you select this it will take you back to the Home menu where you started:
And that's it!
That's all there is to it. The course is now created and will appear on your "Main Menu" as an active course.
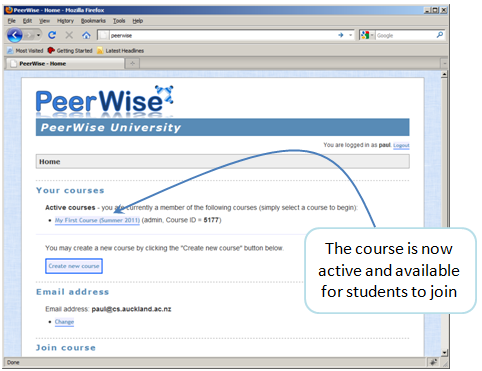
Students can join the course using the Course ID ("5177" in this example) and their identifier (which must match one of the values associated with the course). As the course administrator, you can track each student’s participation based on their identifier value. A guide for students is available.
Contact
If you have any questions, please contact:
The University of Auckland
Phone: +64-9-373 7599 x 87087
Email: paul@cs.auckland.ac.nz
Email: peerwise@cs.auckland.ac.nz